[Week 22] Learning Mixpanel: Lookup Tables
![[Week 22] Learning Mixpanel: Lookup Tables](/content/images/size/w1200/2026/02/61681e02-f004-4616-9f74-4d44f70afee2_558x574.png)
Introduction
Welcome to Week 10 of Learning Mixpanel. I’m Ansh, a Mixpanel Certified Partner. I’ve had the privilege of working with 60+ startups, helping them set up their analytics infrastructure and gain actionable insights using Mixpanel.
Curious about my work? Check out my website for case studies, testimonials, and more details about what I do.
Tired of Mixpanel data going wrong - events missing, properties breaking, or random spikes?
Pravix makes it simple to detect these issues and keep your data clean.
Today, I’m going to talk about how to use lookup tables in Mixpanel
Let’s get into it
If your preferred consumption is audio visual - access the video on Youtube
For example, if you have a product_id property, you can use a lookup table to add details like product name, product price, etc., wherever that property exists. This allows you to use those additional properties for deeper analysis.
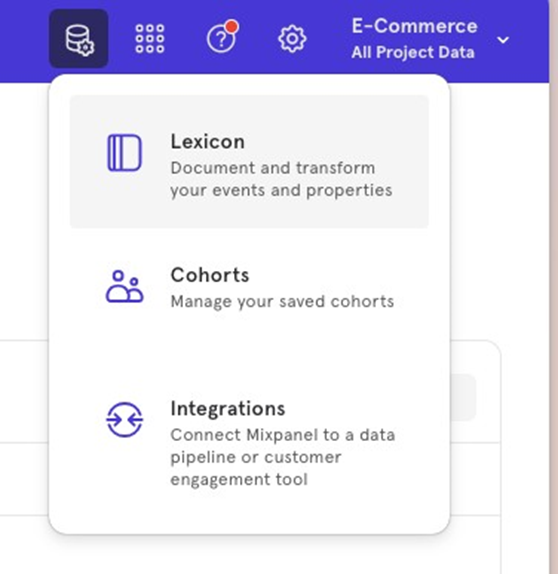
To set up a lookup table in Mixpanel:
- Go to Lexicon.
- Select Lookup Tables.
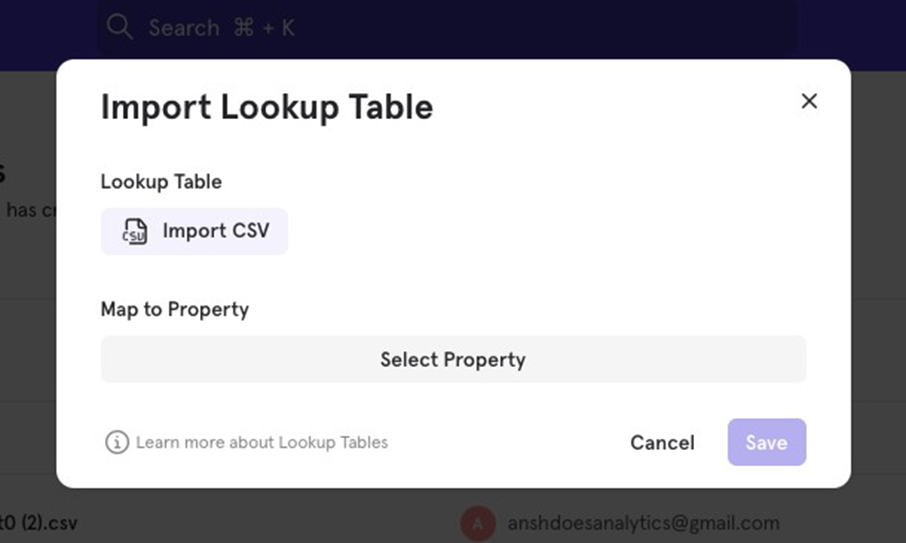
- Click Import Lookup Table.
- Upload your CSV and select the relevant property.


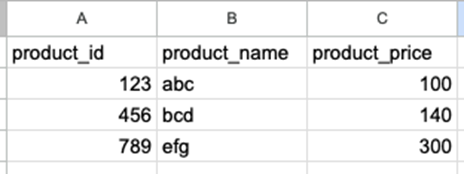
Letʼs take the example of product_id, and enriching it with other data to see how our csv should look like, and the process of uploading it.
- Select product_id: In the “Select Property” section of the Lookup Table setup.
- Prepare Your CSV.
a. The first row should be your header (names don’t need to match the property you’re mapping).
b. The first column must contain the product_id values you want to map to (all values must be unique).
- Upload and Save: Click “Save,” and your CSV data will now be available with your event data.
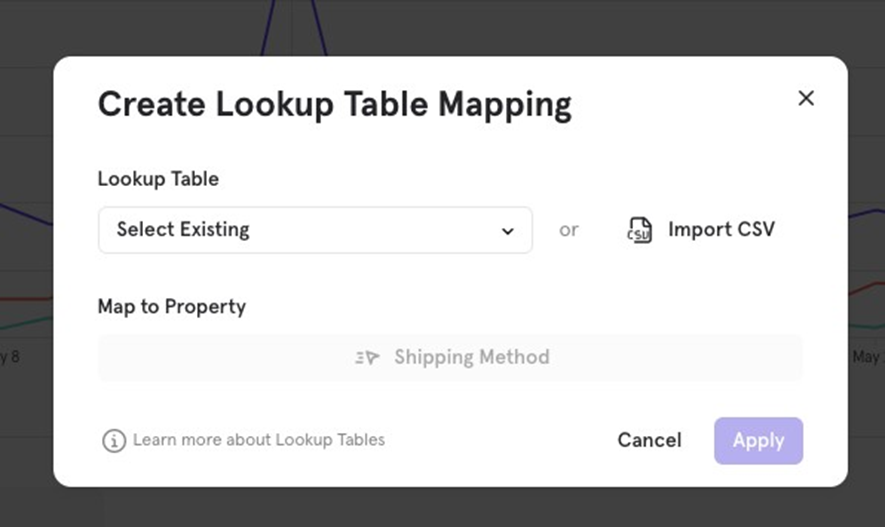
You can also map properties using a lookup table directly within a report. This lookup table will only apply to that specific report and won’t be available globally in other reports.


![[Week 28] Learning Mixpanel: Computed Properties](/content/images/size/w600/2026/02/e73fb366-1c52-4f79-a28f-4a0b60d6998c_836x723.png)
![[Week 27] Learning Mixpanel: Bucket Customisation Types](/content/images/size/w600/2026/02/a81f7bcb-4886-4711-b1b8-af8c5fc6b1b8_463x476.png)
![[Week 26] Learning Mixpanel: Mastering Attribution with Mixpanel](/content/images/size/w600/2026/02/4e3a164c-bfb1-479f-9f09-2f8890eac413_885x787.png)